Argon One M.2 Expansion Board: Setup
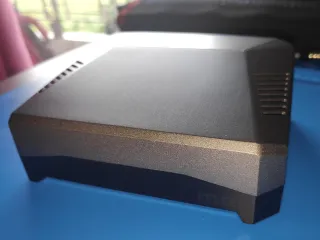
By adding the Argon One M.2 Expansion Board to the Argon ONE, you'll be able to use M.2 SSD (NvME not supported)
This guide requires you to have an Argon ONE V1 or Argon ONE V2, in addition to the Argon One M.2 Expansion Board (if it wasn't bundled with the board)
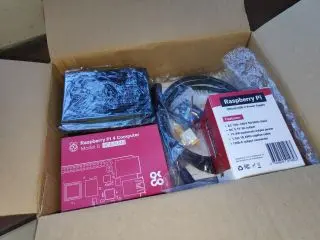
In the box
- M.2 Expansion Board - Four screws - Four rubber feet - One USB to USB C-shaped - Manual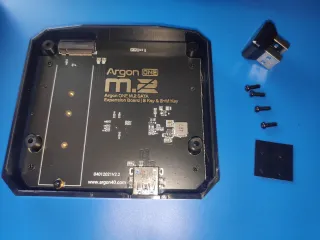
Applying rubber feet
A good place to start is to putt on the four rubber feet's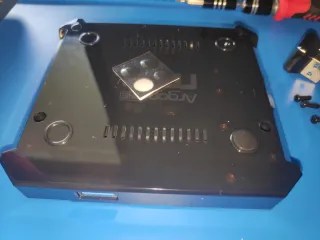
Underneath there's space for the rubber feet and it's just to place them on the designated spots
M.2
Then it's time to insert the M.2 SSD. You want to insert it in a 30° angle or it won't go properly inside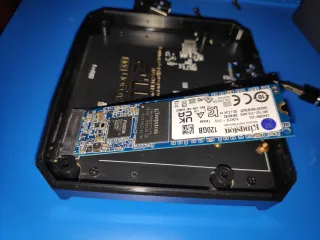
Then when you push it down towards the board. You'll see if you need to move the screw or if it's fine as is
Adjust the screw
Here you'll need to move the gold colored screw to the length corresponding with your M.2, for me it matched the length I had. So I just had to remove the screw and insert the M.2 and then put back the screw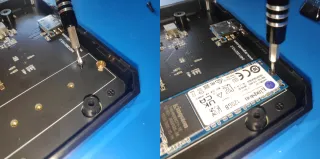
The black screw and gold colored screw was really stuck together. So I had to screw them both out together. Take a plyer, so I could separate them and then re-insert the gold colored screw
Remove Argon One base
If you have applied the default Argon ONE base, you'll now need to remove it. By removing the four screws under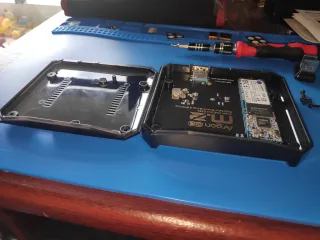
When comparing the two bases, you can see the default base is lower and more bareboned. Just notice that the microSD opening on the Argon ONE base is not available on the Argon One M.2 Expansion Board. So you need to add / remove any microUSB before attaching the new base
Screw in the base
Now screw in the four screws in the base, to fasten it to the case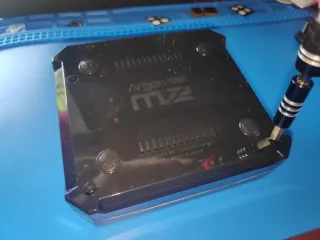
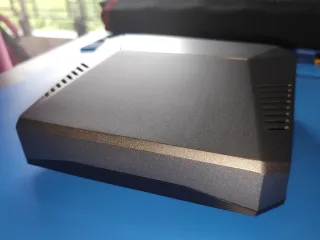
The plastic base is a dust magnet, it easily get finger prints marks and attract dust
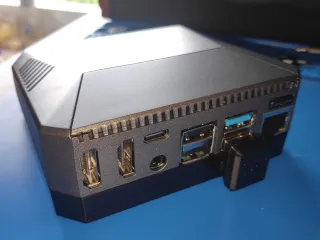
Ports
You'll have the same ports as Argon ONE V1 or Argon ONE V2, but you'll lose one USB 3 port to connect to the M.2 Expansion board